
How to Install LED Strip Lighting for Maximum Effect
LED strip lighting is an excellent way to add ambiance, highlight features, or provide functional lighting in various settings. However, to achieve maximum effect, careful planning and proper installation are key. Here’s a step-by-step guide on how to install LED strip lighting for the best results:
1. Plan the Layout and Placement
Before installation, it’s essential to plan where the LED strip lighting will go and what you want to achieve. Decide the purpose—whether it’s for accent lighting, under-cabinet lighting, or highlighting architectural features.
- Under cabinets or shelves: Provides task lighting or subtle accent lighting.
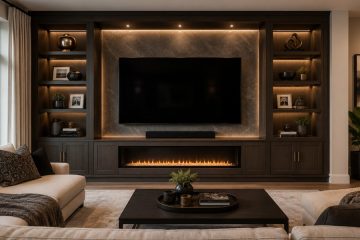
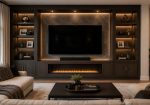
- Behind TVs or monitors: Reduces eye strain and adds a visual effect.
- Along ceilings or walls: Creates indirect lighting for ambiance.
- Around furniture or stairs: Adds safety and design elements.
Measure the areas where you’ll install the strips to determine the length of LED strips you need.
2. Choose the Right LED Strips
LED strips come in various colors, brightness levels, and styles, so selecting the right one for your project is important. Consider these factors:
- Color temperature: Warm white (2700K-3000K) for cozy spaces, cool white (4000K-5000K) for task lighting, or RGB for color-changing effects.
- Brightness: Choose the right lumens per meter based on the desired effect. Higher lumens for task lighting, lower lumens for ambiance.
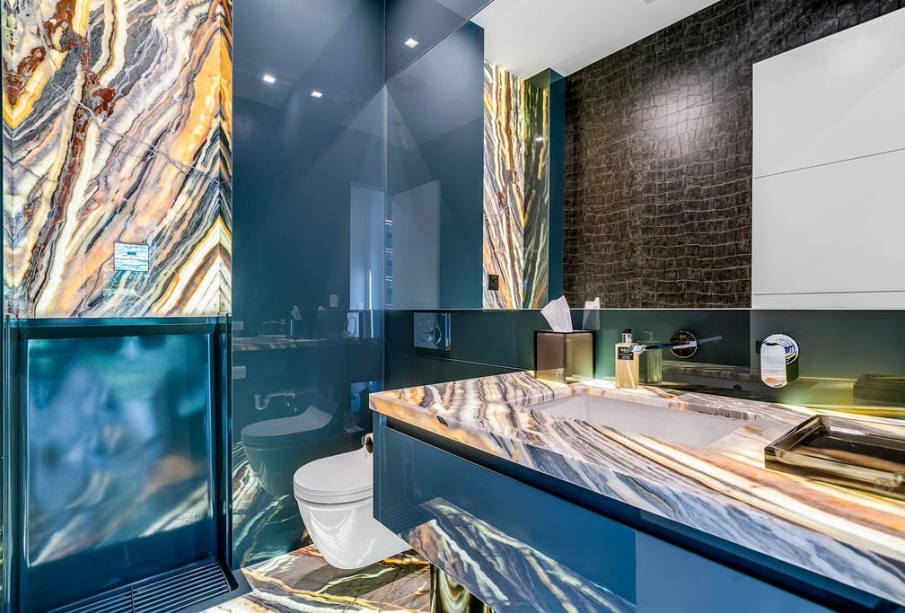
- Waterproofing: For outdoor or bathroom installations, use waterproof LED strips (IP65 rating or higher).
- Dimmable options: Select dimmable strips if you want to control the brightness levels.
3. Prepare the Surface
To ensure proper adhesion, clean the surface where the LED strips will be installed. Use a damp cloth to wipe away dust, dirt, or grease, and make sure the surface is dry before proceeding. LED strips come with adhesive backing, so a clean surface is crucial for a strong bond.
4. Cut the LED Strips to Length
If the strip is too long, you can cut it to the desired length. Most LED strips have designated cut points marked along the strip, usually every few inches or after every few LEDs. Make sure to cut only at these points to avoid damaging the circuitry.
- Tip: Use sharp scissors to make clean cuts, ensuring proper functionality after the strip is shortened.
5. Connect the LED Strips (If Necessary)
If you need to connect multiple strips or make corners, use LED strip connectors. These small clips or connectors allow you to join strips without the need for soldering. Make sure the positive (+) and negative (-) terminals on both ends of the strips align correctly to ensure proper functionality.
This post was written by a professional at GlowbackLED. GlowbackLED has been the industry leading custom LED lighting manufacturer located in Miami, FL for years. They specialize in custom LED light panels for cristallo quartzite backlit, artwork, stained glass, and resin. They have been manufacturing robust lines of recess linear, surface linear, and pendant linear LED light fixtures (suspended or hanging). Proudly offering industry leading project management and support, Glowback is second to none! Their goal is to make your purchasing experience as simple and headache free as possible.